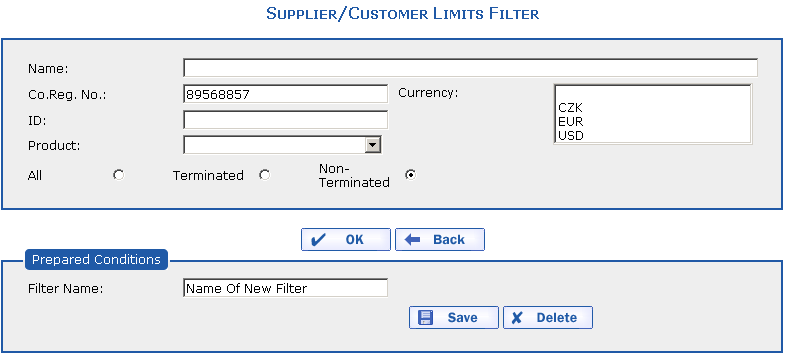
Using the Filter dialog, define the selection (filtering) of records in the overview. The filter can be used for one-time or repeated use.
Use the  button to enter the selection.
The Filter dialog appears. Enter the
parameters according to which you want to search the records into the
items of the filter and press the  button.
The filter window closes and an overview appears into which the
retrieved records are loaded. If you want to use the filter setting
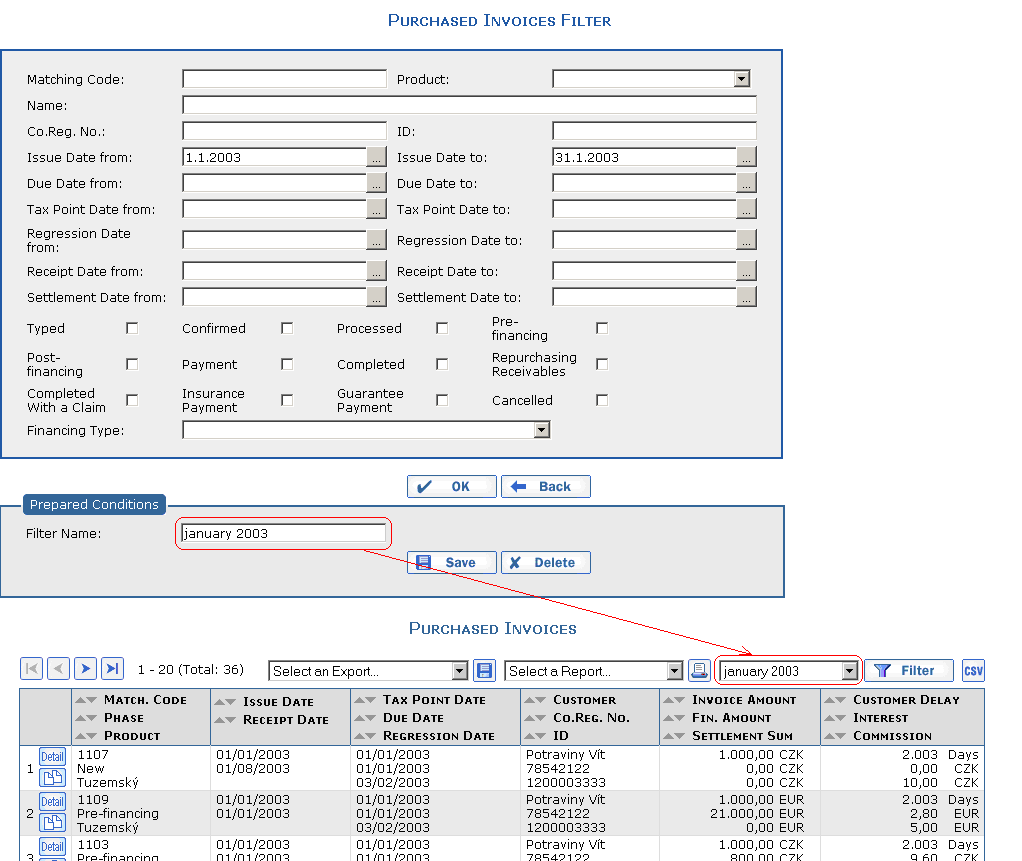
repeatedly, enter the Filter Name
into the lower part of the filter so that you can easily find it in the
future and press the  button. The filter is saved and
next time you can select the filter directly in the overview, from the
Filter drop-down menu.
The * placeholder substituting missing characters can be used when filtering.
If you do not want to use the filter or you want to change its
settings, select the saved filter in the Filter drop-down menu and press the
 button. Here
you can either edit the filtering conditions or, by pressing the
 button, you
can delete the filter.
All records are displayed by selecting the
Non-specified value in the Filter drop-down menu (this is a default
setting and it cannot be modified or deleted).
The display of records in the Non-specified
filter can be limited by a system parameter, for example to display
records with a date starting from 1.1.2005 (a date according to the
system settings), in order to lessen the burden when loading
data.
The following two types of running filter checks are carried out in the eFactoring application:
-
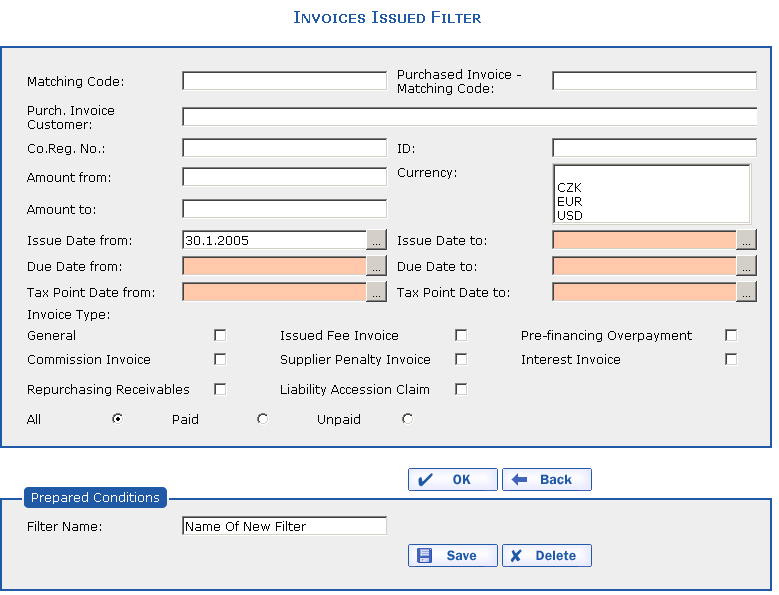
The introduction of an
active checkusing so-called "Smart" filters makes it possible to monitor the selected interval between the DATE_FROM and DATE_TO items during the entry of filtering conditions: If the interval is too lengthy (according to application parameterization), you are made aware of this fact when the filter is applied through the color-distinguishing of the item and a message. A filter with an unauthorized interval cannot be applied. The Smart filter appears on the filter of Invoices Issued (according to the system settings).TipThe user can use the smart filter, which is not filled in entirely correctly. This is managed by the settings in the user access rights for the given user/operator/role. When the Smart Filter function is turned off, the highlighted fields that mark the minimum user entry for the given filtering action are not displayed.
-
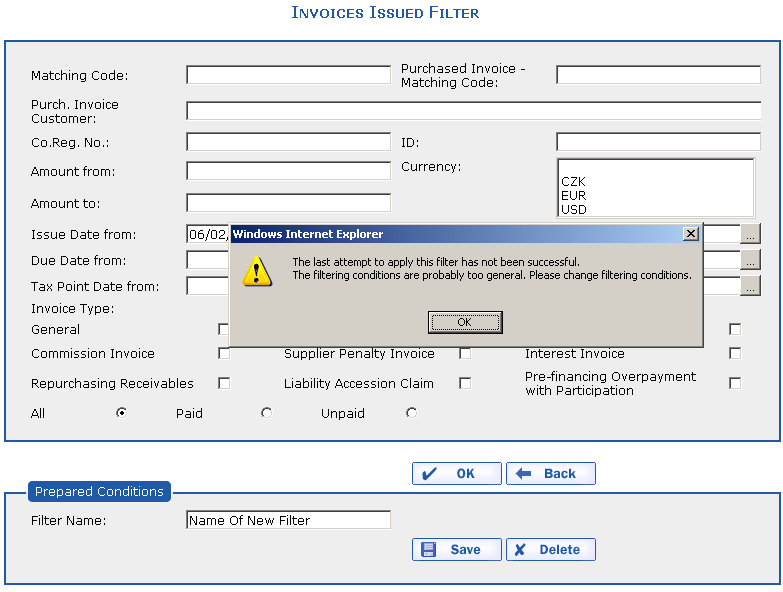
A
passive checkis carried out to detect whether the overview made it to its work station upon its last launch by the user or whether the last filter used was successfully applied. If not, the system automatically displays the problematic filter upon the next access to the overview and notifies the user that the filtering conditions need to be changed.
Passive checks are implemented on all overview functionalities with the filter.
Copyright © ARBES, 2019


 Filter drop-down menu
 Filter drop-down menu


